Viewing entries in
cooking

Summer Salad - July 4th

Comment

Summer Salad - July 4th

Today is probably one of the busiest days for all cooks out there. Just thinking about what kind of meat stresses me out. I take that back. Thinking of how many pounds of something I should be buying freaks me out. For the past few years of hosting July 4th at our house, I've made sure to always over order. You can always freeze your meats if you have some that were not used.

Besides making a whole grill filled of meats, I wanted to share with you a salad I've been making recently that will make all your guests say this was the memorable dish of the day. Not in a bad way. Everyone [most] loves meat. So having a great salad really; 1. throws people off guard and 2. makes people eat veggies.

Below you will find a recipe for 2 people. But in a party, keep in mind people will take less. So the recipe below can probably feed 4-5. I had about 15 people over so I made this x 3.

Ingredients

  1.  1 Leafy or Heart of Romaine.
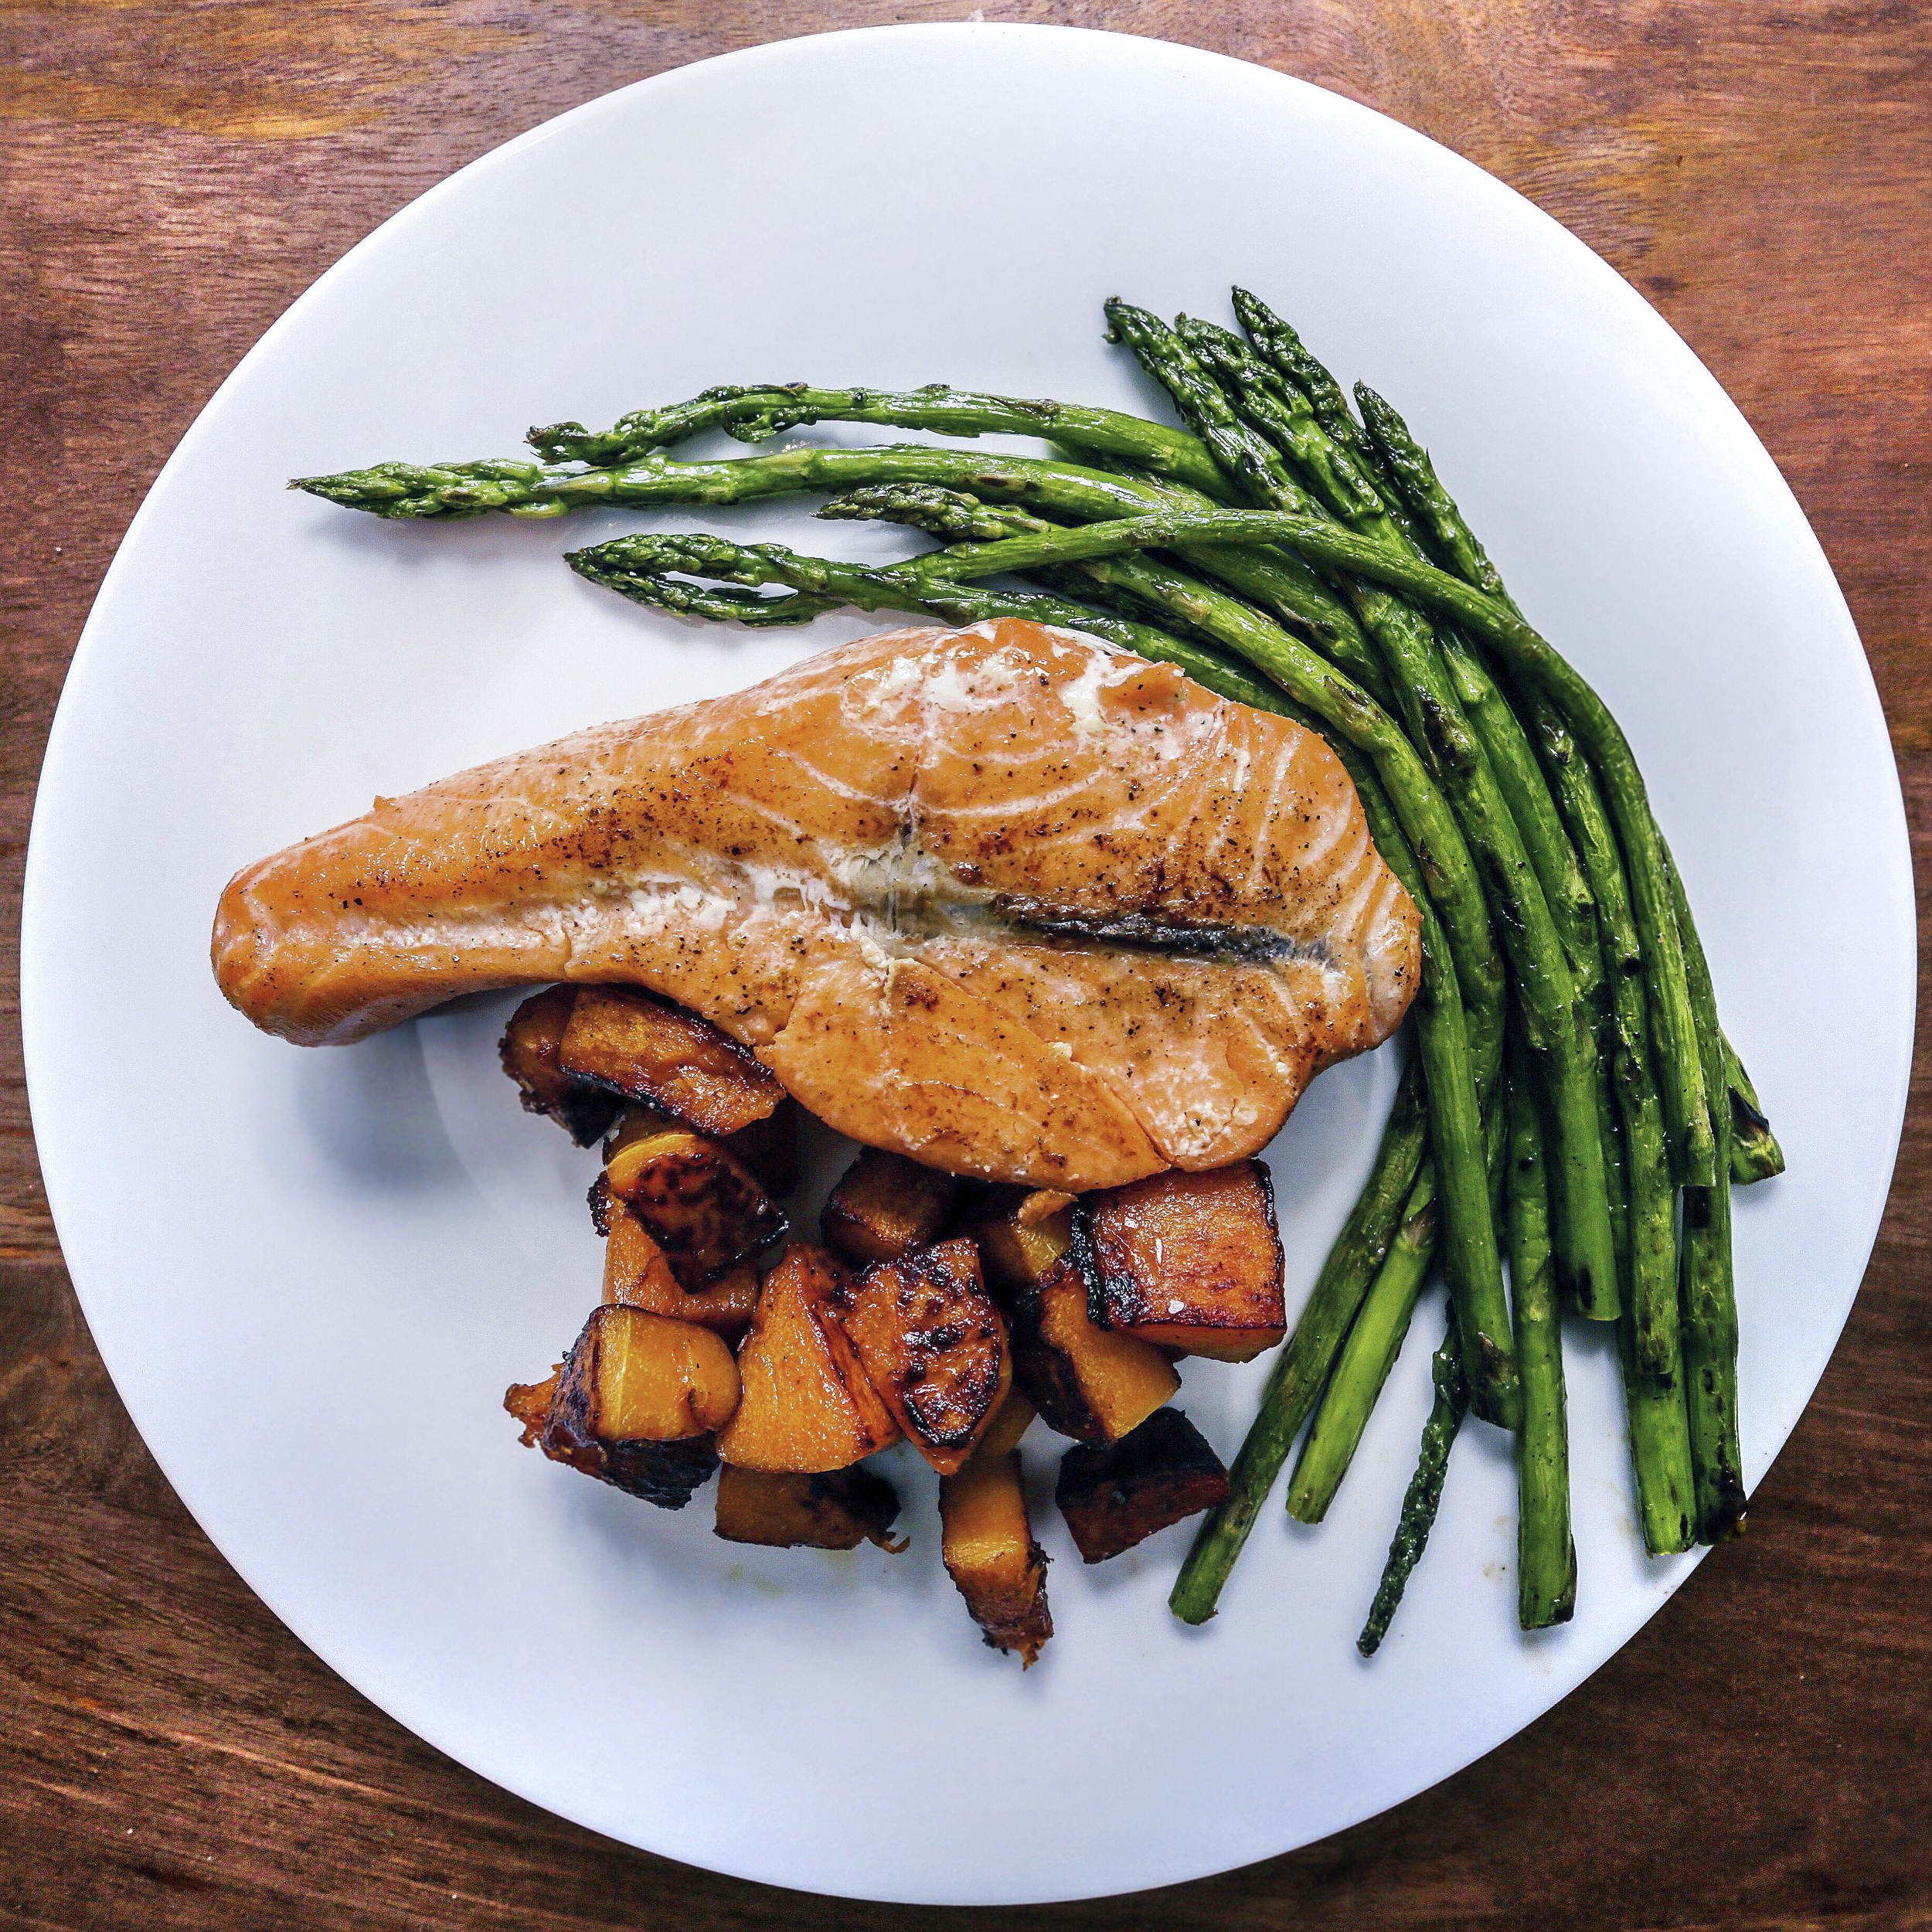
  2. 2 thin cooked leftover chicken breast or Salmon filet (If you can get salmon, do it.)
  3. 1 fennel bulb (save the fennel fronds)
  4. 1 Can of corn drained.
  5. 4 pops of Hot & Sweet Cherry peppers from Trader Joes (tastes amazing, but optional if you don't have any)
  6. Your favorite Caesar dressing.

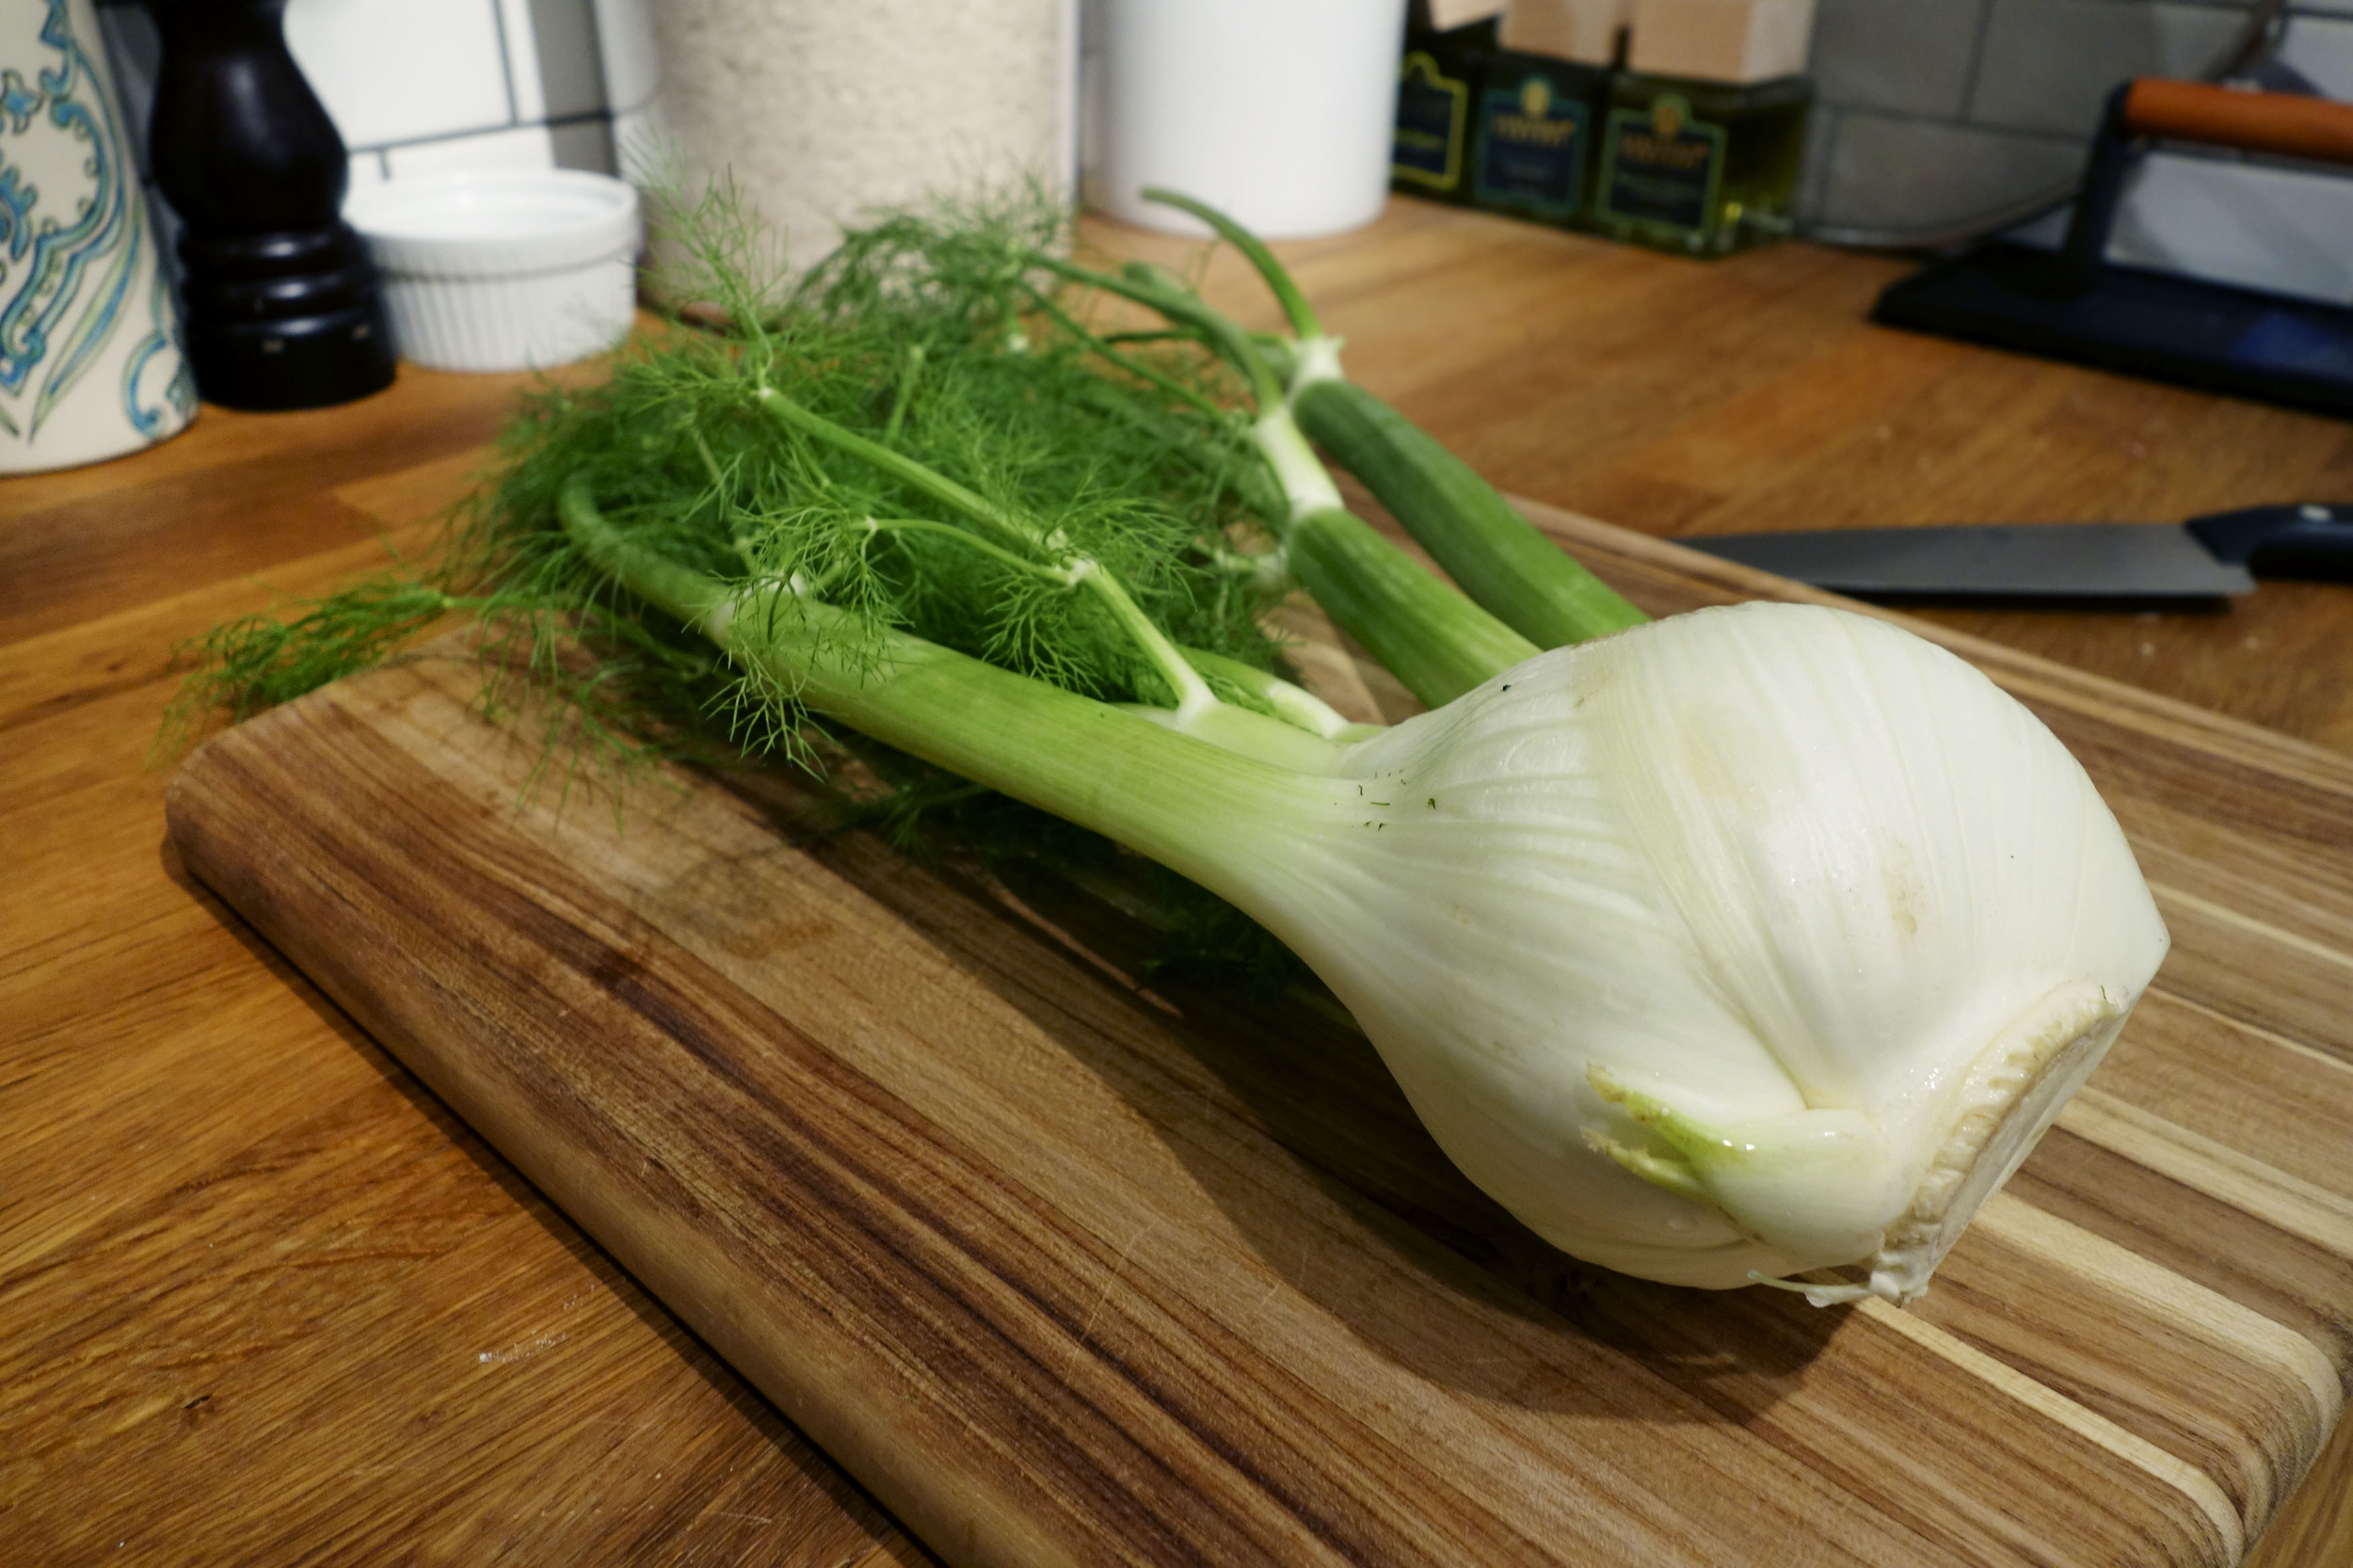
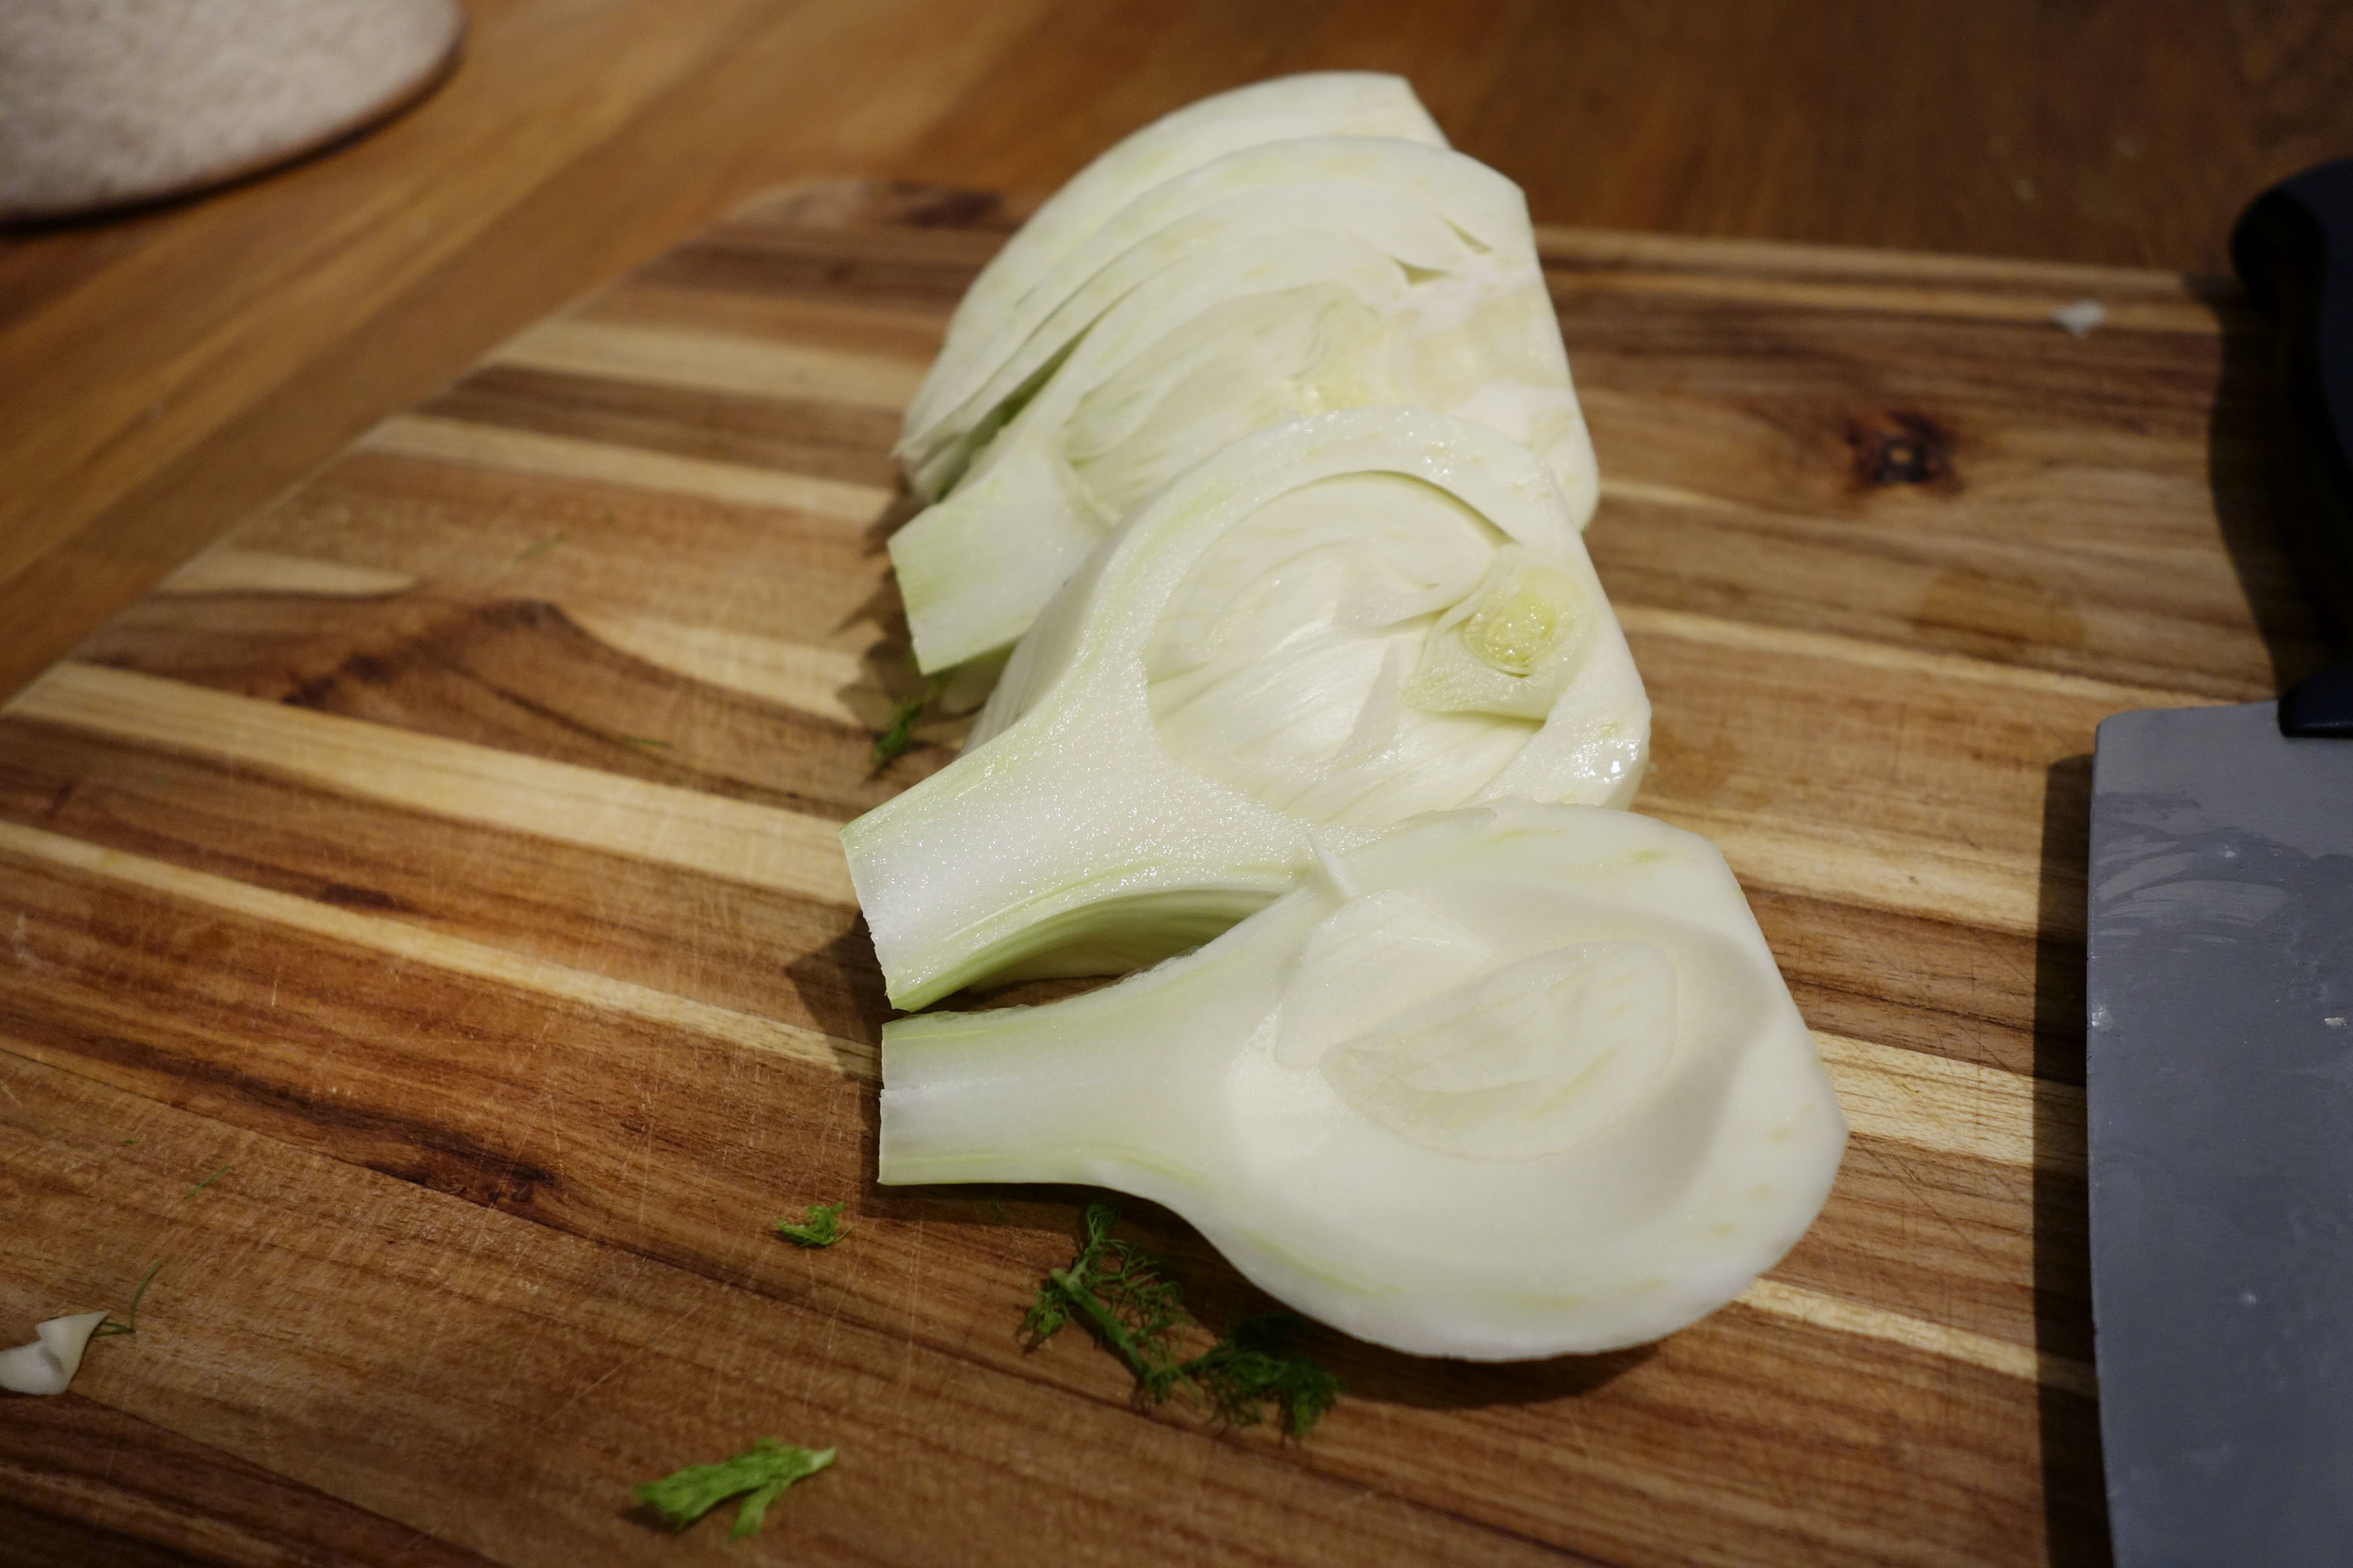
I've preheated my Breville to roast on 450 before starting. Trim of the top and bottom of the fennel before slicing. I've been super addicted to fennel lately. If you are sensitive to the flavor of anise, roasting it really tones it down a lot. Save the fronds, the top leafy things, and cut your fennel as shown. Drizzle with olive oil, salt, and I love a generous amount of cracked black pepper. Roast for 20 minutes or until they turn a nice golden caramelized color. Feel free to flip if needed, really depends on how the oven is behaving.

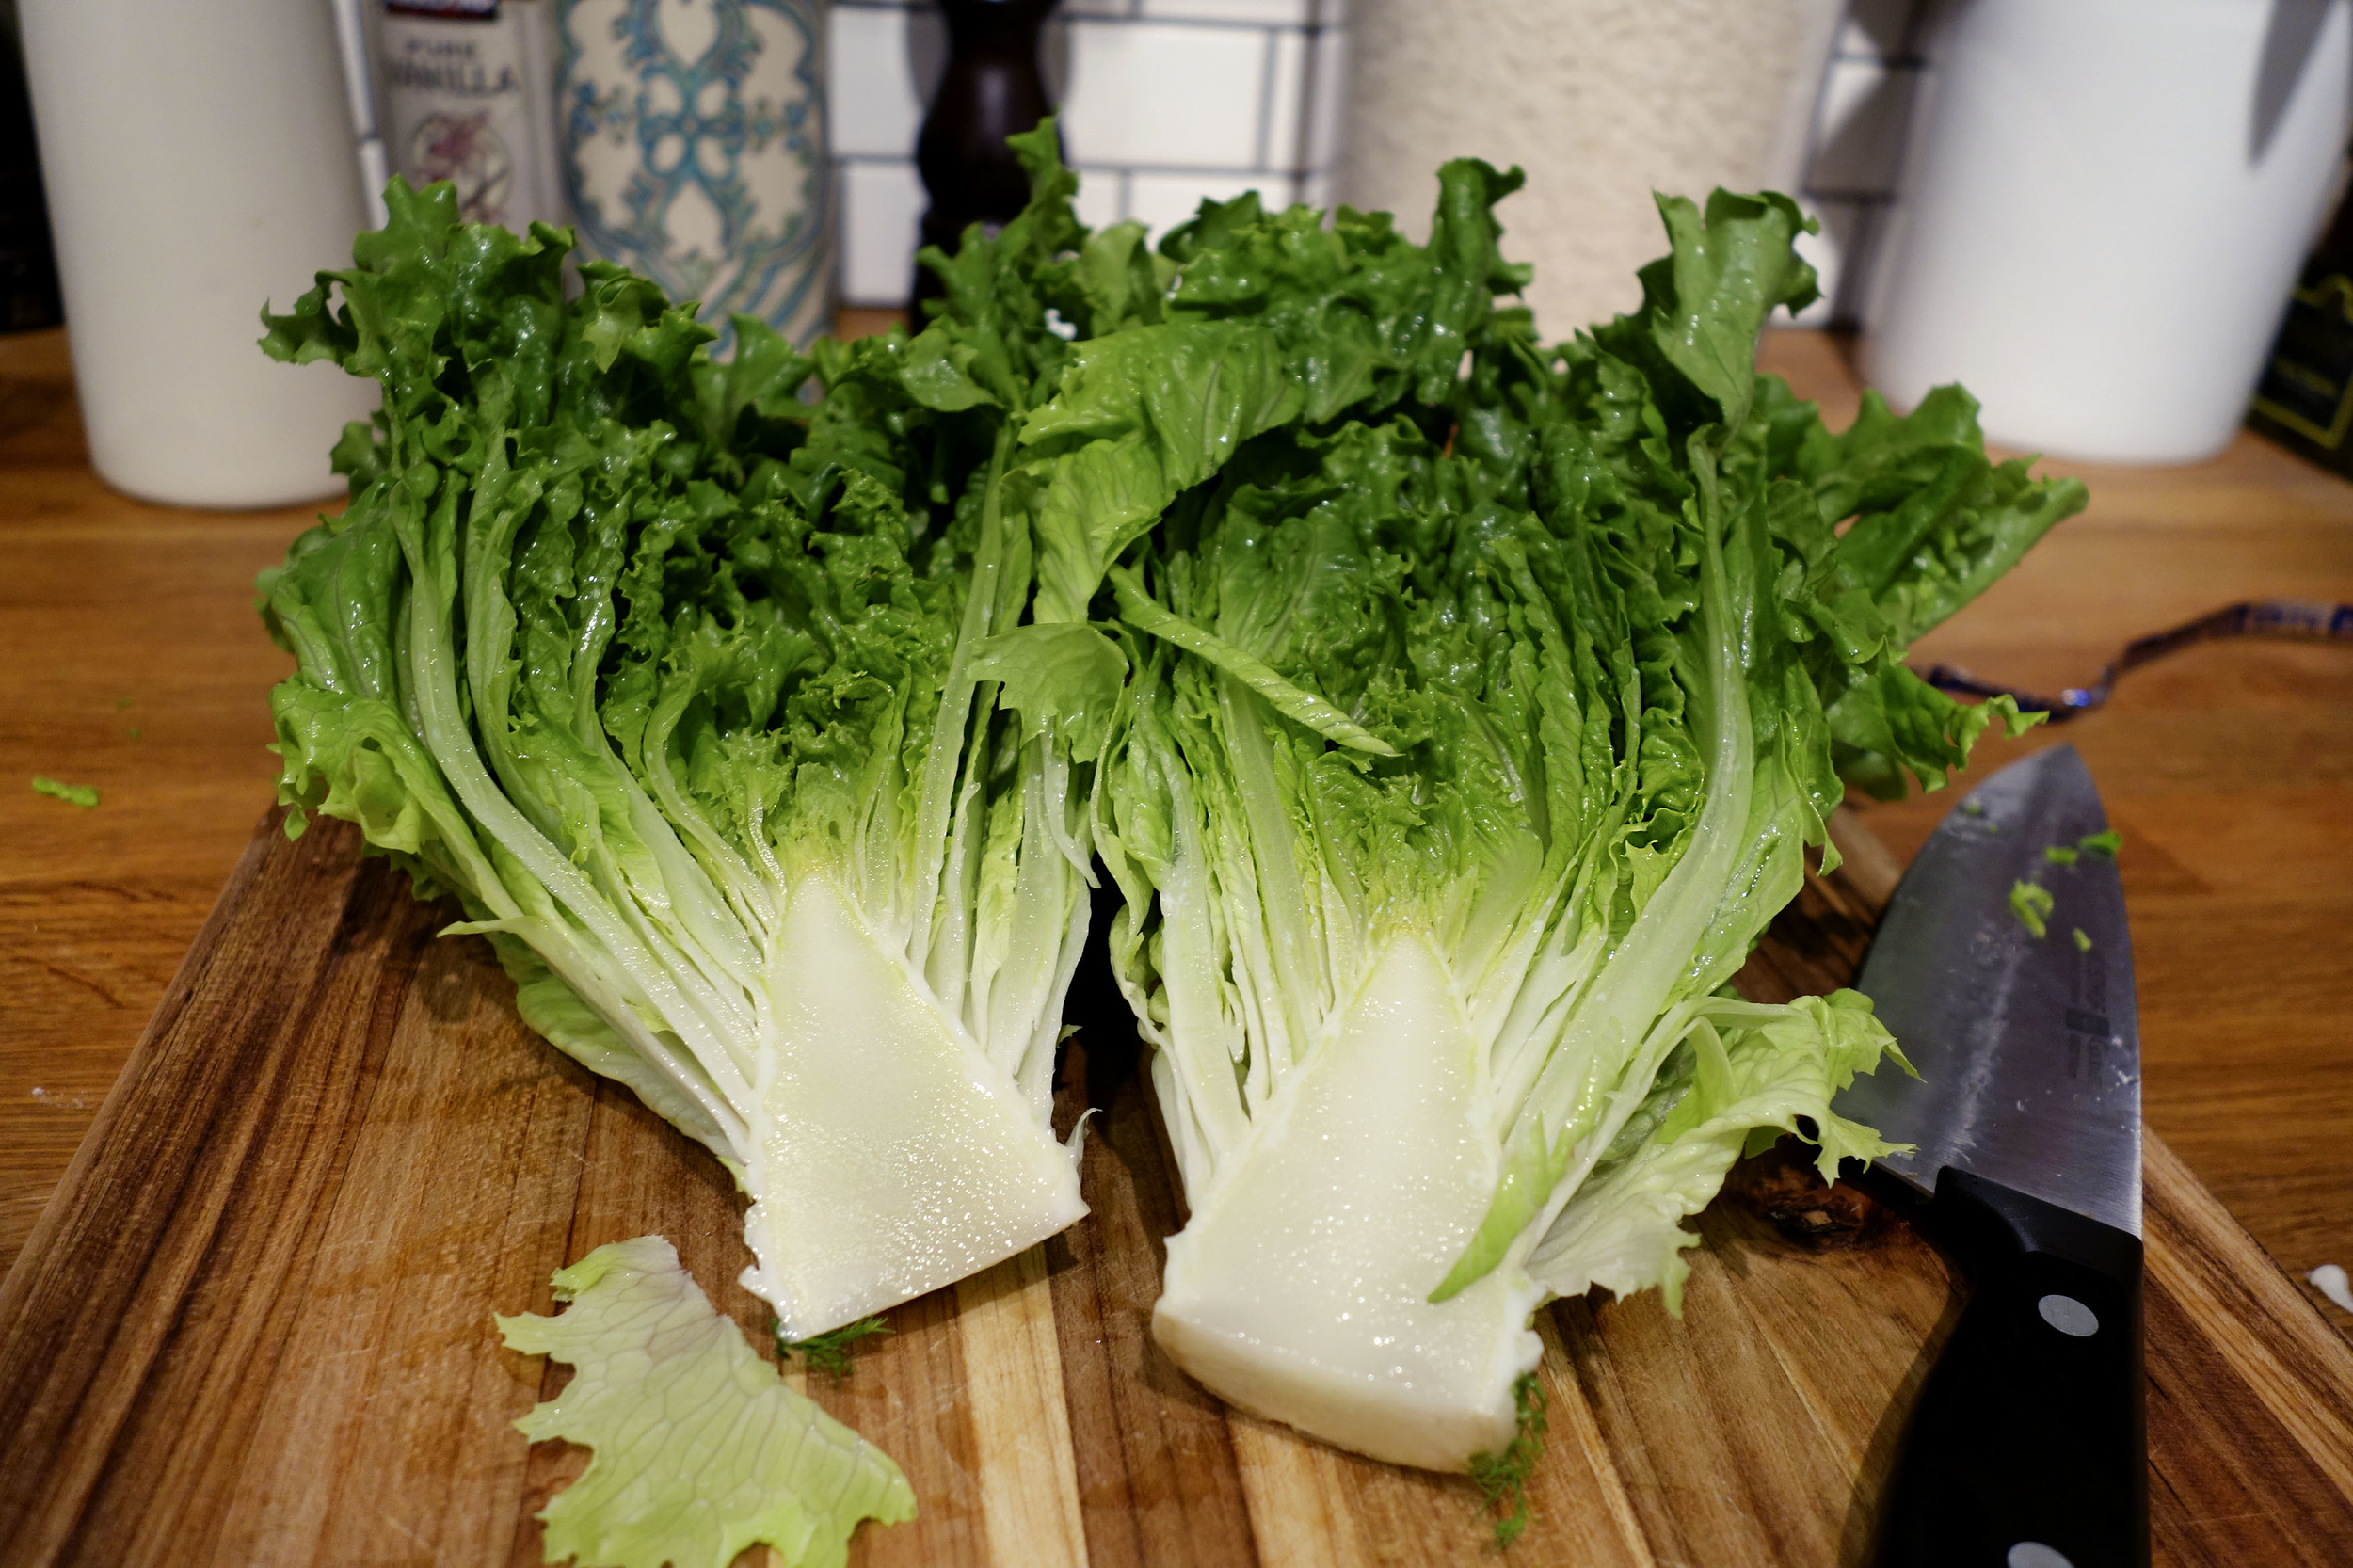
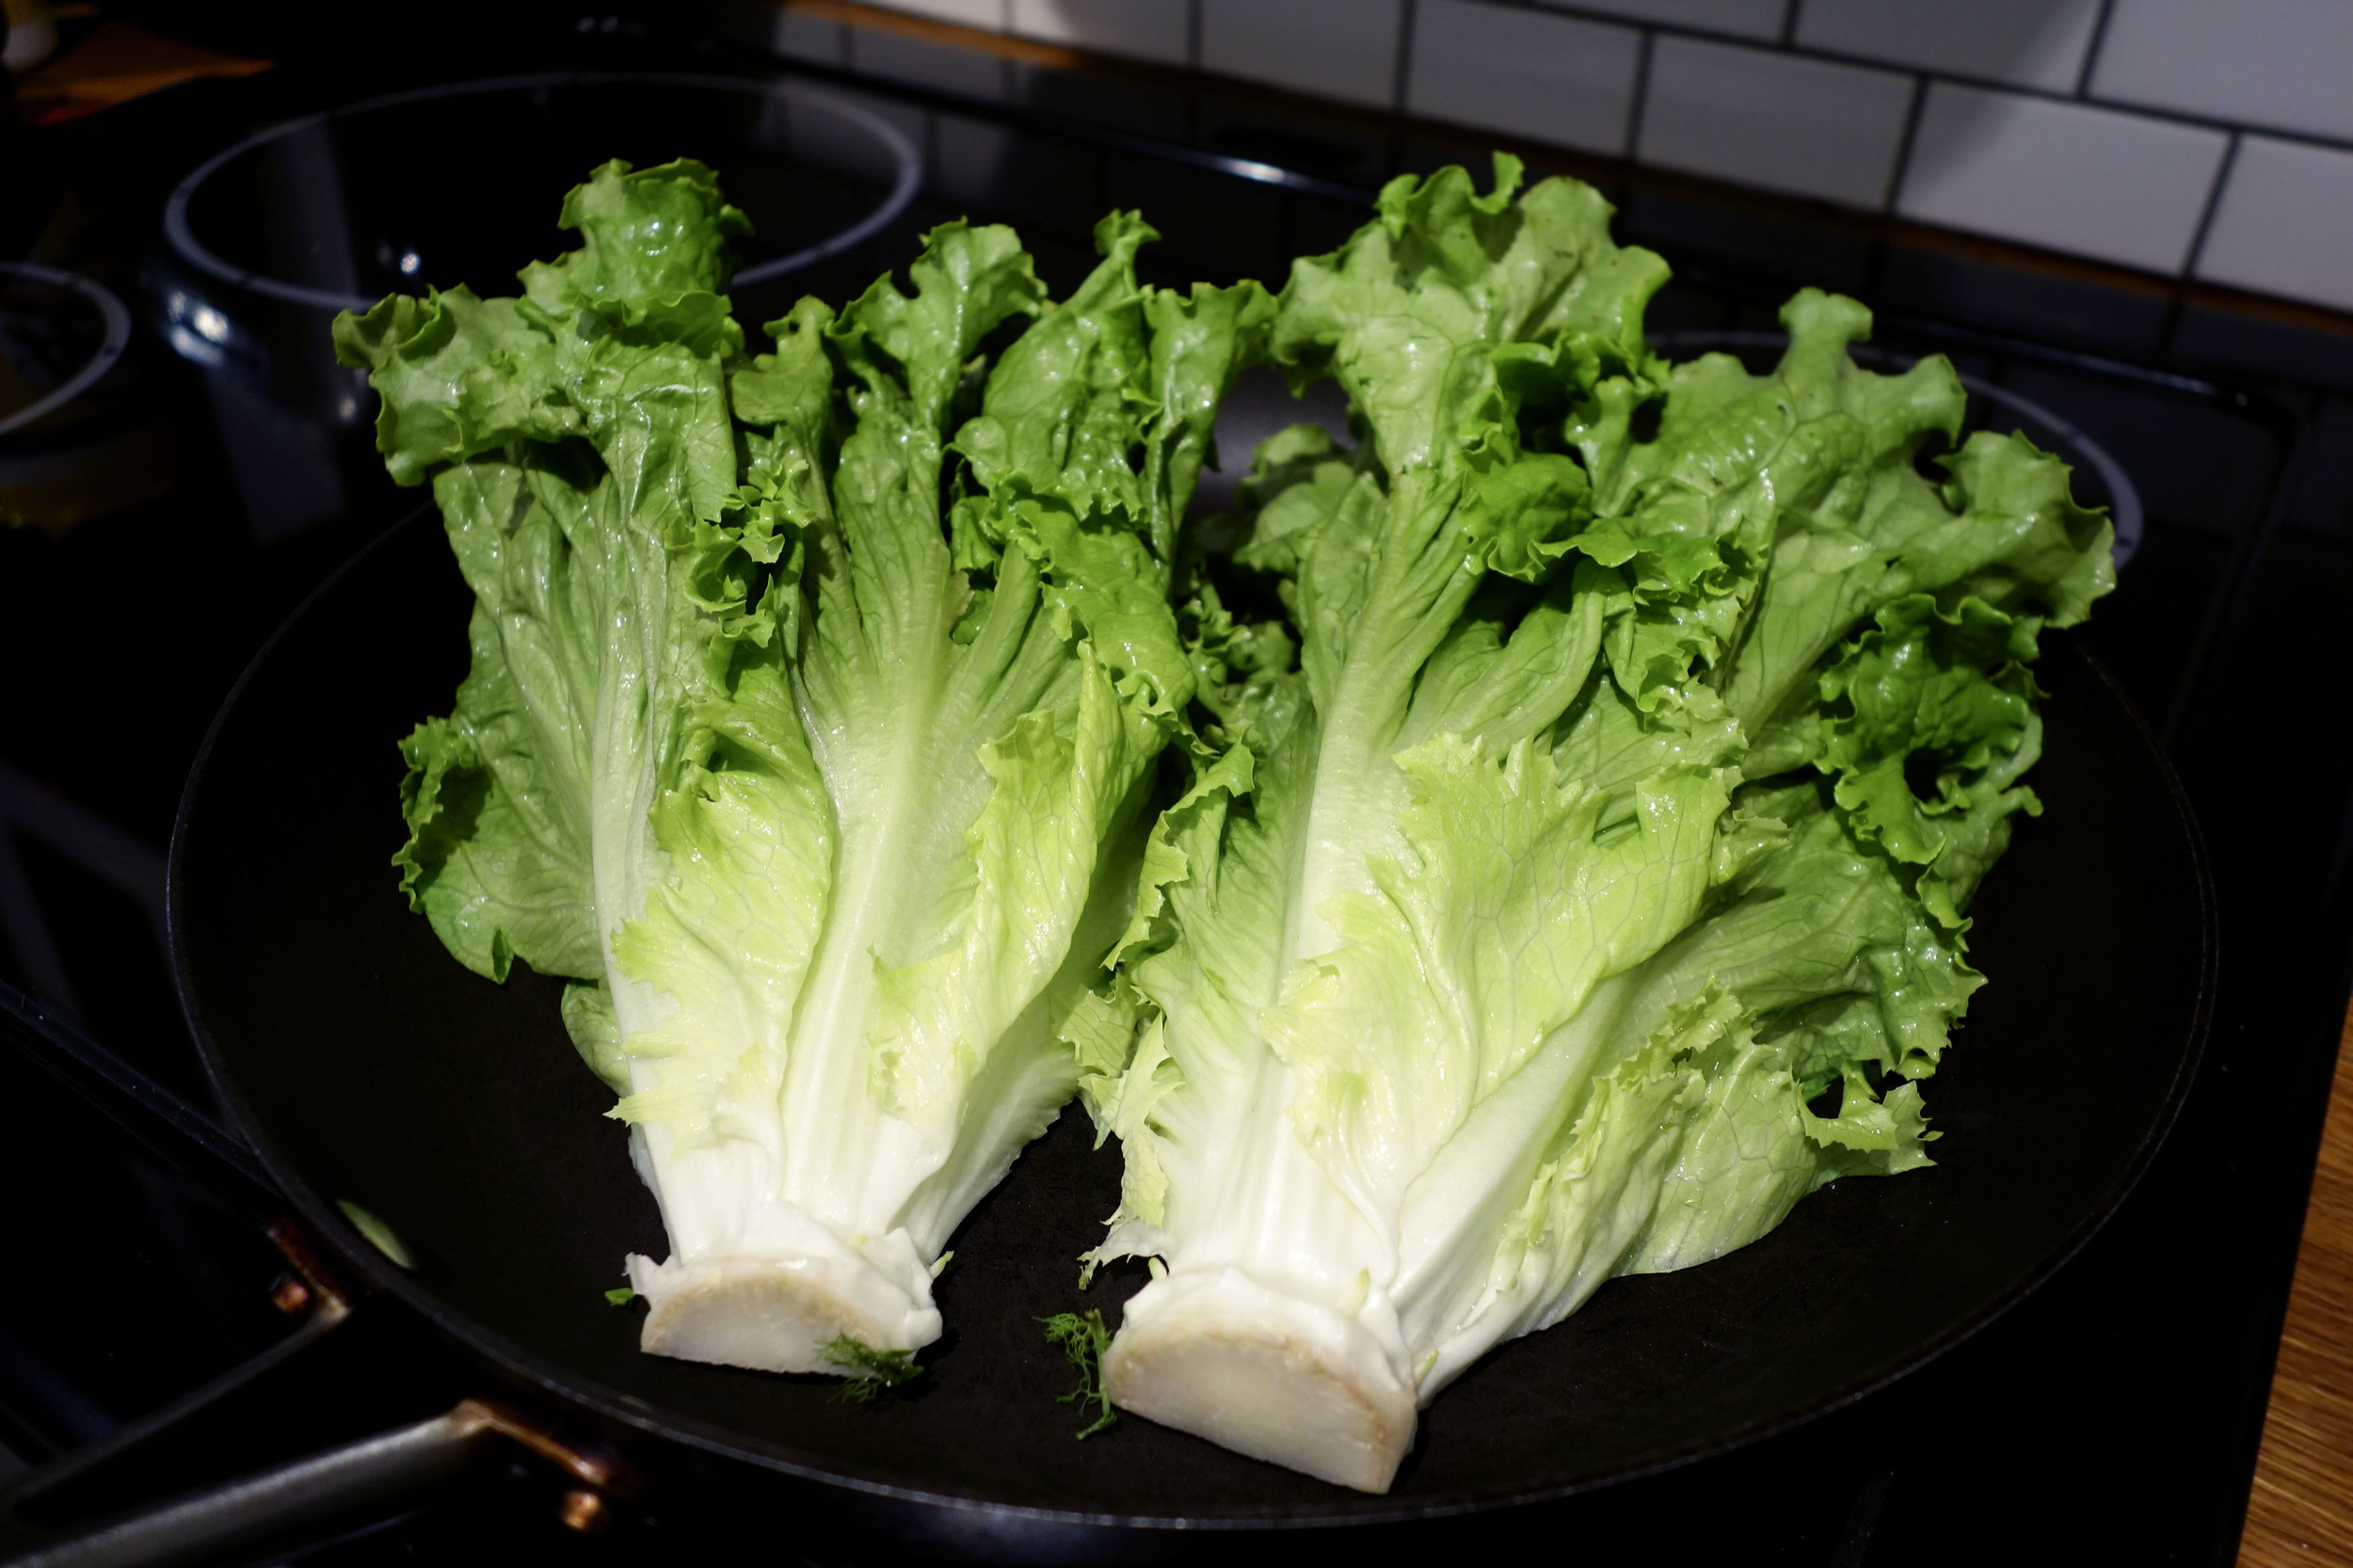
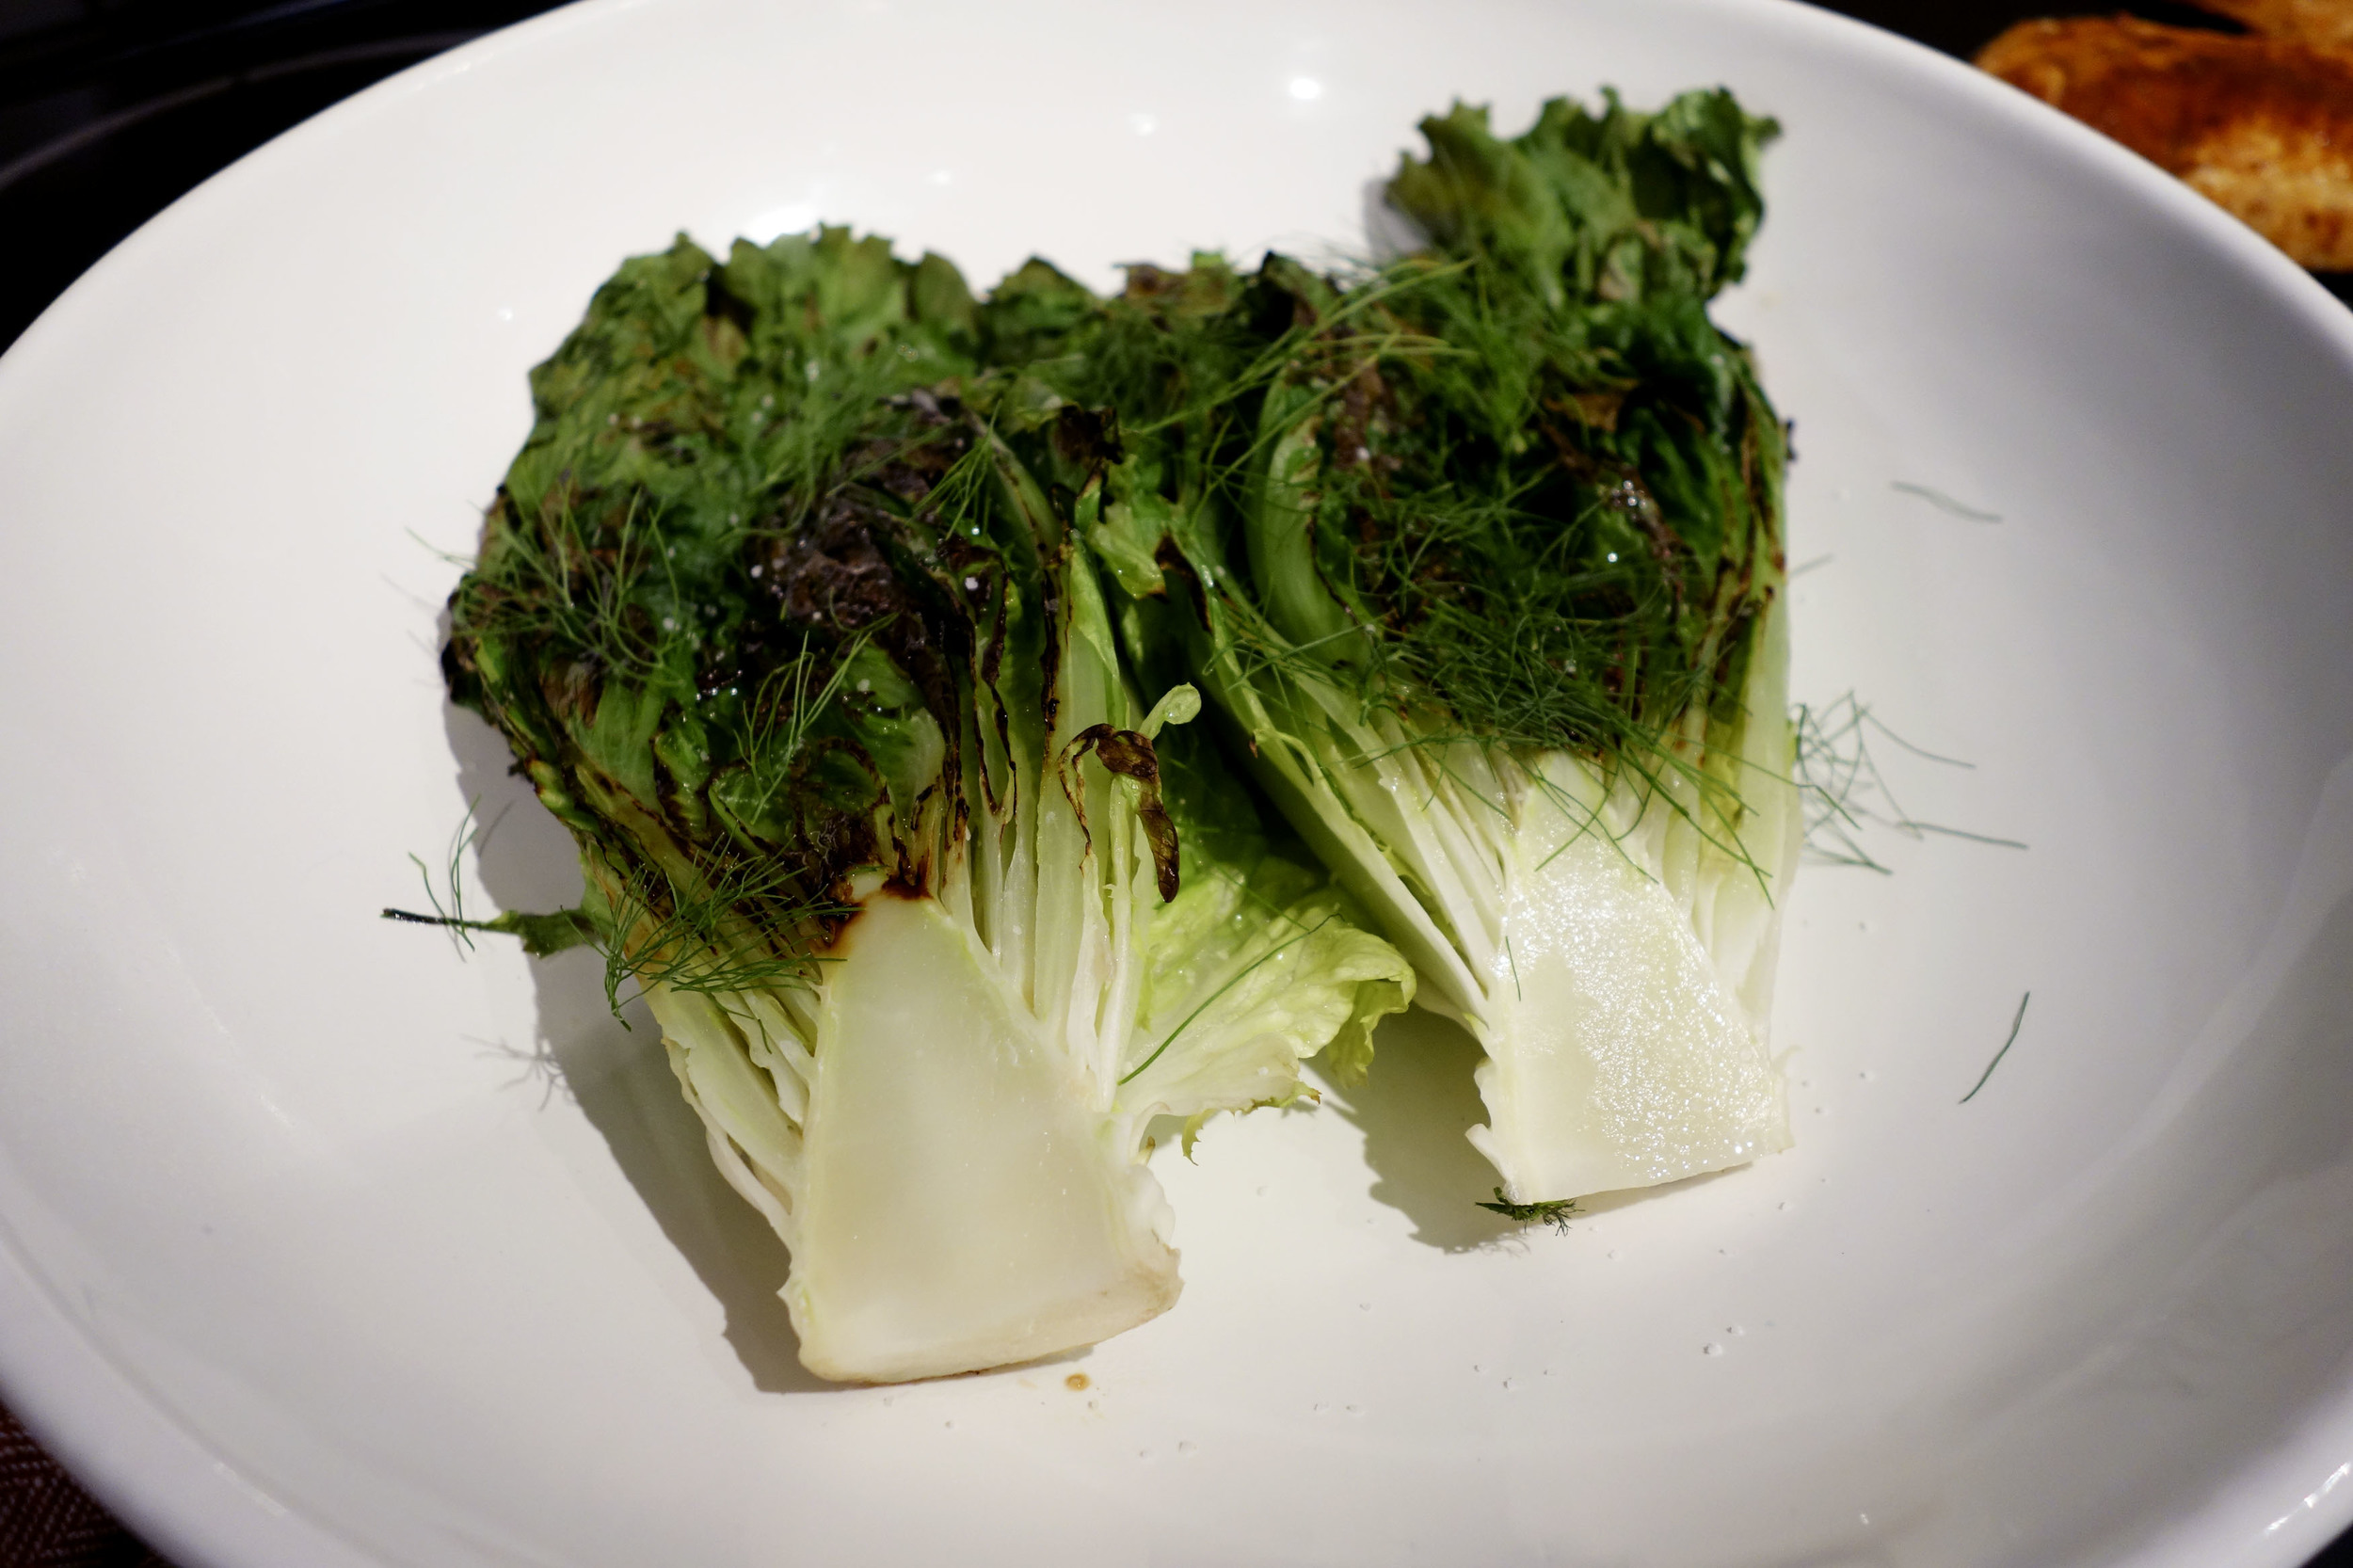
With your romaine, trip off the ends if necessary, but I like to keep it intact. The lettuce is cut in half and drizzled lightly with olive oil before searing it on high. Let this go untouched for 1-2 minutes before moving. I top the charred romaine with a little fennel fronds to heat up the anise essence.

Drain out one can of corn.

Mixed all your ingredients in the bowl. The peppers are cut in 1/4's. Chicken is also diced. I've made this with salmon before which is what I prefer. But I had chicken leftover so that's what I used for this recipe. If you want to use salmon, I would cook it low and slow in your oven at around 275. Depending on size, I've got about 18 oz before and cooked that for 25 minutes then roasting on 450 for about 5 minutes to sear the bottom of the skin. Let it cool before flaking off the chunks (salmon can make more than 1 head of romaine depending on preference). Going back to the chicken, it is mixed with the corn, cherry peppers, and about a quarter cup of Caesar with a lot of cracked pepper. Mix!

Top your salad with the mixture, then lay your roasted fennel on top with the fronds as garnish.

Leave a side of caesar for people to add more if they want. I love my salads creamy, but I know that's not the healthiest... but enjoy and have a happy 4th!

Comment

Salted Eats

Comment

Salted Eats

I've never used a meal kit service before so when I was asked to try Salted Eats I was more than stoked. What's unique about Salted Eats unlike other prepared meal kits out there is that the recipes are created by LA's best chefs. Each meal also comes with a tutorial by the chef themselves on how to prepare the meal.

The meal I received to share with all of you is the "Porcini-crusted Rib Eye with Mushrooms and Thyme" from Butchers and Barbers with Chef Luke Reyes. Out of a few items I could pick from, I chose the steak because I am a huge lover of rib eye. And every time I do cook my steaks, it's always the same way. Seasoned with Lawrys garlic salt with big cracked pepper. A little olive oil on a high sear. Making a steak with sauce, herbs and butter is something I would never do or at least be comfortable with doing. The recipes are simple. I recommend you watch the video tutorial and read through the instructions before starting to better prepare.

Like all meal kits, the items are bundled and delivered in an insulated bag to keep the ingredients fresh. In this Porcini Rib Eye meal, the items that come with are:

  • 1 Dry Aged Rib Eye (16oz)
  • 1 tablespoon of maldon salt
  • 1 tablespoon of Porcini Powder
  • 2 tablespoons of butter
  • 3 garlic cloves
  • fresh thyme
  • 3 types of mushrooms: Hen-of-the-woods/chanterelle/cremini (about 2 oz of each)
  • 1 tablespoon of sherry vinegar

The steak is rubbed with olive oil, then liberally with the porcini powder, salt & pepper, and maldon salt. The steaks are then seared on high heat until both sides create a nice crust/color. Steaks are then removed. Now, you can follow the instructions and stick the steaks in a 400 degree oven to cook for 6 minutes, but I just let the steaks rest to the side.

I've had a lot of experience cooking steaks, that's why I chose to not stick the steaks in the oven. But if you are an amateur, I recommend you follow the recipe since these are prime ingredients. The butter is thrown in with the garlic and thyme. Once the butter is heated up, place your steaks and base. By the way, the recipe you see is for one steak. I had a few orders since there was a group that came by for dinner. I based the steaks for a good 4-5 minutes or so before removing them to rest.

The 3 mushrooms are thrown in to saute. Add salt and lots of cracked pepper to season. The sherry vinegar is added with a little water to thin out the sauce a little.

Perfect medium rare steak gradation throughout the cuts.

Perfect medium rare steak gradation throughout the cuts.

Top your steaks with the mushrooms and garnish with fresh thyme. The steak was cooked perfectly. The porcini powder was not as abrasive as you think considering how strong it smelled. The sherry vinegar added a much needed acidic cut through the richness of the butter that was used. I made a simple mashed potato and roasted Brussel sprouts to serve with the steak.

A definite crowd pleaser. Find out more on Salted Eats.


Comment

Grilled Cheese - VONS

2 Comments

Grilled Cheese - VONS

There are a few reasons why I love a grilled cheese sandwich. One of the main reasons though, is because I am lactose intolerant. No one ever knows because I still love to eat it when it's in front of me. Lactose Intolerance can't tell me what to do! The other reason why I love a grilled cheese sandwich was also because when I was growing up, a lot of my classmates would have this in their brown lunch bag which I also did not have.

Brown lunch bags and grilled cheese sandwiches. I remember I always wanted a brown bag, but my parents would instead give me the plastic bags they use to bag groceries. I can tell, they wanted my life to be miserable. It's not even a simple plastic Vons bag. It had to be the ones from the Chinese market with weird prints on them. It was so embarrassing. But sometimes, the school would serve grilled cheese sandwiches. It's the cheapest thing ever made along with the bean & cheese burritos, but I would trade anything for one right now.

For national grilled cheese sandwich day, I made my own version of a grilled cheese sandwich for a small little competition hosted by Vons. The recipe you will find below feeds 4 people. I like to use really subtle cheeses just because I have a sensitive palate to stinky cheese. This recipe will definitely be friendly to anyone, but more towards the hardcore foodie fanatics. Why? Because it includes Pimento Cheese and tator tots. Holy COW.

You will need:

  • 3 Cups of frozen tater tots - I used Safeway tater tots. Selling 2 bags for $5 at the moment!
  • 1 - 3/4 cups (1 bag) Extra Sharp Cheddar Cheese - Lucerne
  • 1/4 cup shredded parmesan - I had leftover Krafts
  • 1/4 cup mayonnaise - Best Foods
  • 8oz of cream cheese - Lucerne
  • 4oz of diced pimento drained - (Found near the pickles at Vons)
  • 3oz canned green chiles drained - (Found near enchilada sauces at Vons)
  • 1 teaspoon of salt
  • 1 teaspoon of garlic powder
  • 1 teaspoon of onion powder
  • 1 heaping teaspoon of Cayenne Pepper
  • 1 loaf of Signature Select sourdough - slice about 3/4 inch - 1 inch depending on preference. The sandwich will be pressed. - (Found near fresh baked breads)
  • 1.5 tablespoons of unsalted butter.

** Make sure your cream cheese is softened before proceeding. **

  1. Preheat your oven to 425 per instructions on the bag of your tater tots. Cover a pan with non-stick parchment paper before laying out your tots. The tots will bake for 22 - 25 minutes. I like to drizzle a bit of olive the LAST 5 minutes. Once the tots are completed, I sprinkle on Kosher salt while they are still HOT.
  2. Once your cream cheese has soften, you basically mix everything in a large bowl until all the ingredients are combined. This is why soft cream cheese is important. Like mixing cold butter. Might as well just give up.
  3. Preheat your non-stick pan (or whatever you are comfortable using) to medium heat.
  4. Start layering your sandwiches. Pimento cheese on both slices of bread. Top with an even layer of tater tots, then top the other slice with cheese on top of the tots. So it's: bread-cheese-tots-cheese-bread.
  5. Once your pan is read, take 1/2 the butter and put it in your pan. Once that melts, quickly put your sandwich in with a pan placed on top to press. The first side will take about 2 minutes pressed, but we all know it can always change. Just grab a spatula to slightly lift.
  6. Once it's golden brown with dark crispy edges, remove the sandwich on your cutting board. Put the rest of your butter in the pan, and repeat process 5 until golden brown. The cheese might ooze out. Don't panic, these get crispy and delicious. I scrape them up along the sandwich when they start getting too dark.
  7. Once the sandwich is completed, let stand for a minute before eating so you won't burn your mouth.

Boy was this scrumptious! This was extremely flavorful and savory you won't even miss the meat. BUT, if I had more time, I would totally cook some bacon bits to fold into my pimento cheese. The sourdough was perfectly crispy. The pimento cheese was slightly spicy from the cayenne, but was cooling from the creamy cheeses. Each bite gets your jowl going. Crack open a bottle of root beer and this will be the best summer backyard/outdoor sandwich to get the crowd going for days.

Feel free to bake all your tots to eat on the side. You can never have enough of these things.

Happy cheesin.

Follow my social accounts:


2 Comments

2 Comments

Salmon Steak

I've totally changed the way I cook salmon. I know a lot of us like to cook a simple filet due to time restraints. Fish, for example, cooks extremely fast. But, it can also overcook just as fast. I've been super obsessed with poached salmon just because of how tender and moist it comes out. And besides, my body needs a break from all the burgers and tacos that I eat from time to time.

Salmon: I had a piece of salmon about 1 1⁄4 inches thick seasoned with kosher salt and cracked black pepper. Since I was just testing, I didn't make any marinades or special seasonings. I had my Breville (one of the best appliances to own) preheating at 270 degrees F. The salmon was baked for 25-30 minutes. Which gives me enough time to prep some sides.

Asparagus: trimmed from the ends. The sides didn't need shaving since the asparagus were still fresh with moisture in the skins. I cooked the asparagus in a screaming hot pan with no oil. This causes the asparagus to blister, which gives it a smokey flavor I love. Kosher salt is applied lightly once you see moisture releasing from the asparagus. Towards the end, I drizzle a little olive oil to coat before removing to serve.

Butternut Squash: Cubed and roasted for 45 minutes in a 400 degree F oven. I oil the squash halfway through the process with salt and pepper. I don't know why I do it this way, but I do. I think it's because I want all the moisture to release before coating them with proper seasonings. They come out great every time.

Everything came together beautifully. The salmon was extremely moist and tender. Everything was just exciting to eat on the plate. Healthy and delicious. Pretty to look at. I'm sure this will be a winner even though it's simple. Sometimes, the simple things are the hardest to perfect. Instead of high and dry, I recommend you try to cook your salmon low and slow.

Enjoy.

2 Comments